
How to Sew: Envelope Pillow Backs
Beginner-Friendly Method, no zipper required!
Beginner-friendly method, no zipper required!
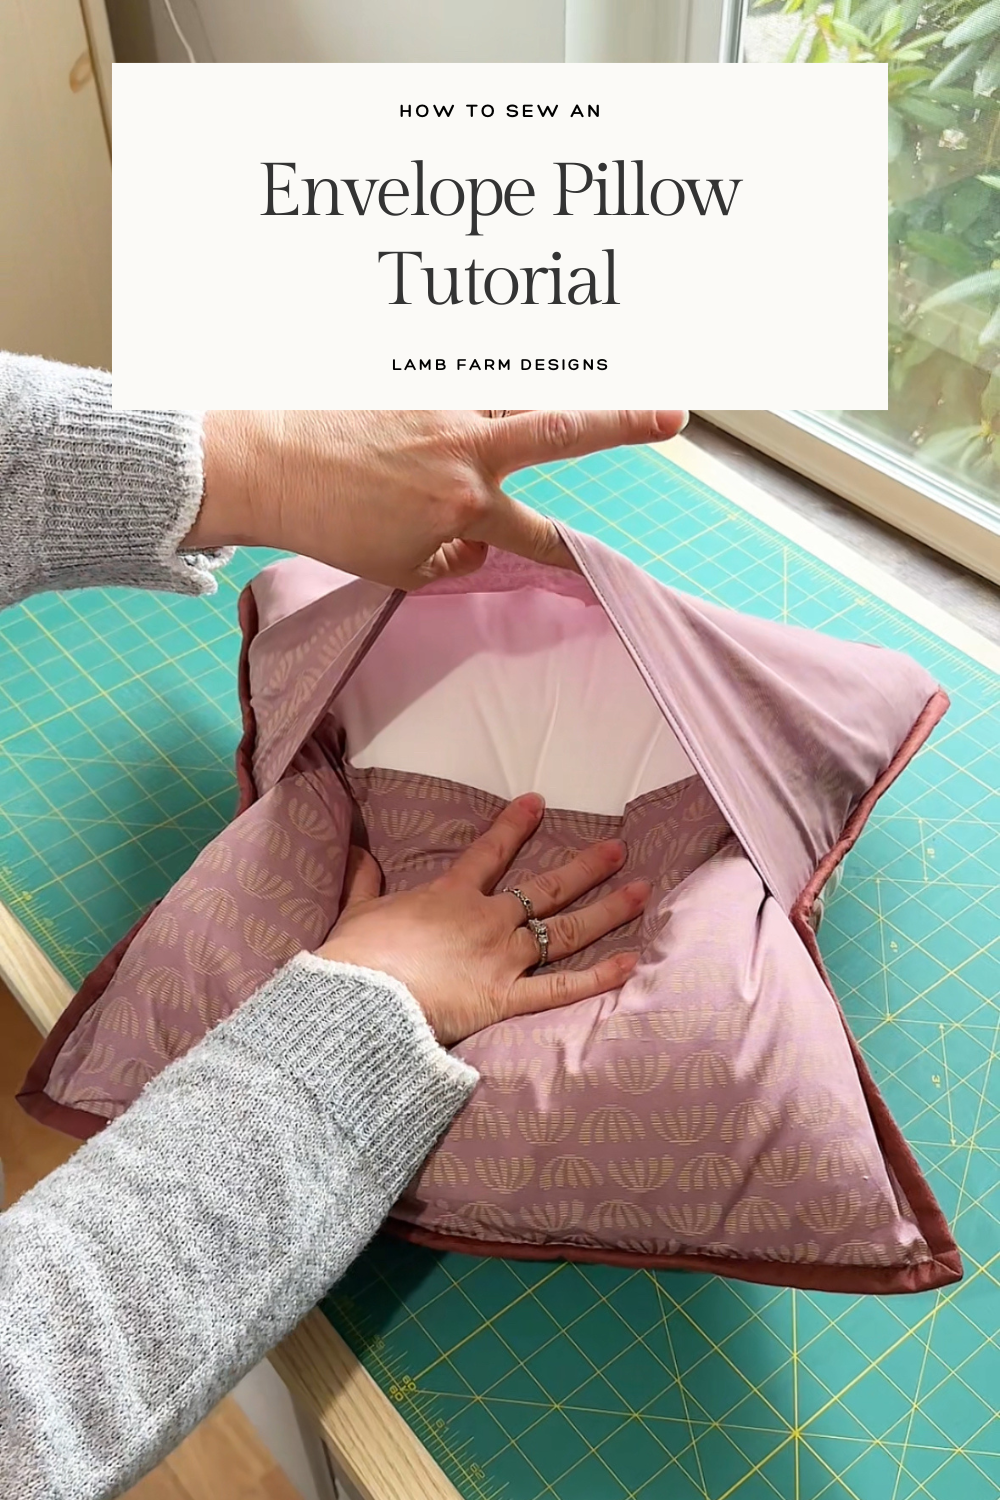
If you love making quilted pillows but dread installing zippers, an envelope pillow back is the perfect solution! This simple, beginner-friendly method allows you to create a removable, washable pillow cover without the hassle of zippers or buttons. The overlapping fabric panels make it easy to swap out covers seasonally or refresh your décor in minutes.
I’ve been using the envelope-style pillow closure for years, it’s quick, practical, and gives a professional-looking finish without extra fuss. Whether you’re sewing a decorative throw pillow, a cozy quilted cushion, or a festive holiday accent, this method keeps things easy while ensuring durability.
In this tutorial, I’ll walk you through my tried-and-true formula for cutting and assembling an envelope pillow backing, so you can finish your next pillow project with confidence!
📏Cutting Formula:
- Divide the size of your pillow by
- Add 4 1/2” to that measurement
- Cut two panels using:
- Width = pillow width + 1/2” (seam allowance)
- Height = half the pillow size + 4 1/2”
📌 Example for an 18” x 18” pillow:
- 18 ÷ 2 = 9
- 9 + 4 1/2 = 13 1/2
- Cut two panels at 18 1/2” x 13 1/2”

Once you have your measurements, you can follow these steps:
Step 1.
Hem one long edge on each panel.

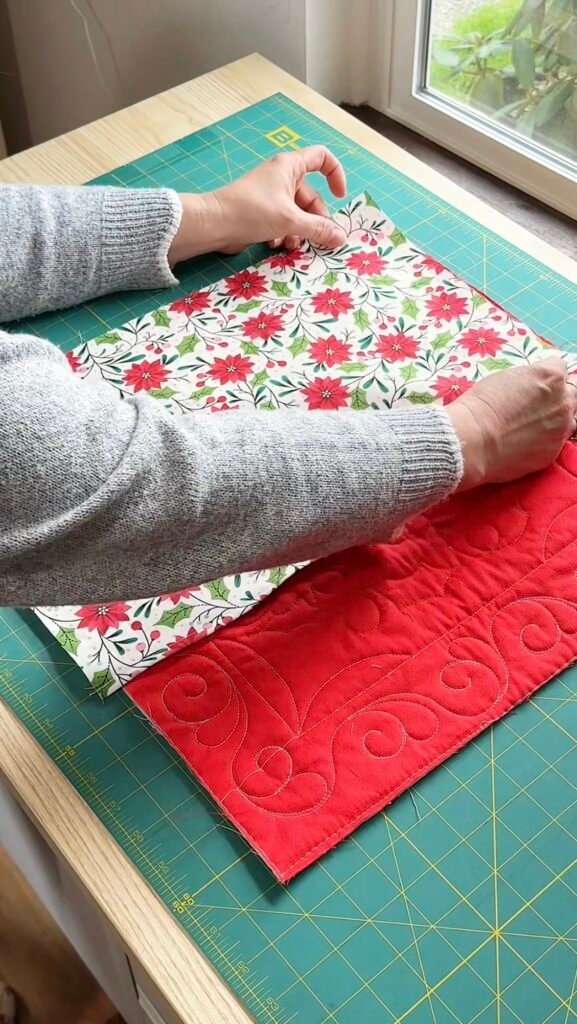
Step 2.
Place your pillow top right side down and align the panels
Hemmed edges facing inward & overlapping.
Pin in place.
Step 3.
With your panels pinned to the back, flip pillow top over to right side up
Then get your binding and sew along the front, securing the panels to the back.

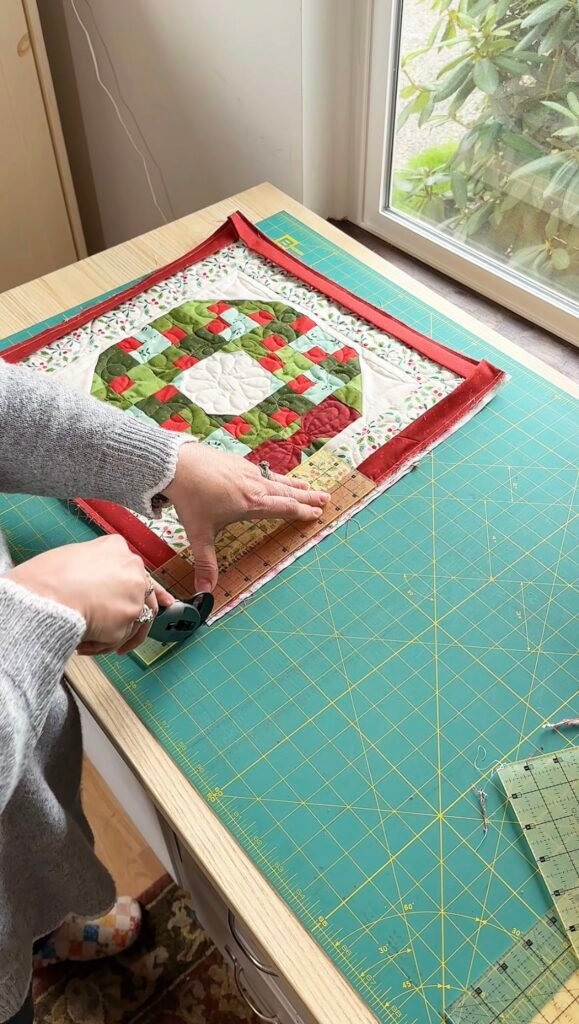
Step 4.
Once sewn, trim any excess fabric before completing your binding.
Step 5.
Complete your binding as usual and TA-DA, easy peasy envelope pillow back that’s durable, washable, and no risk of broken zippers!

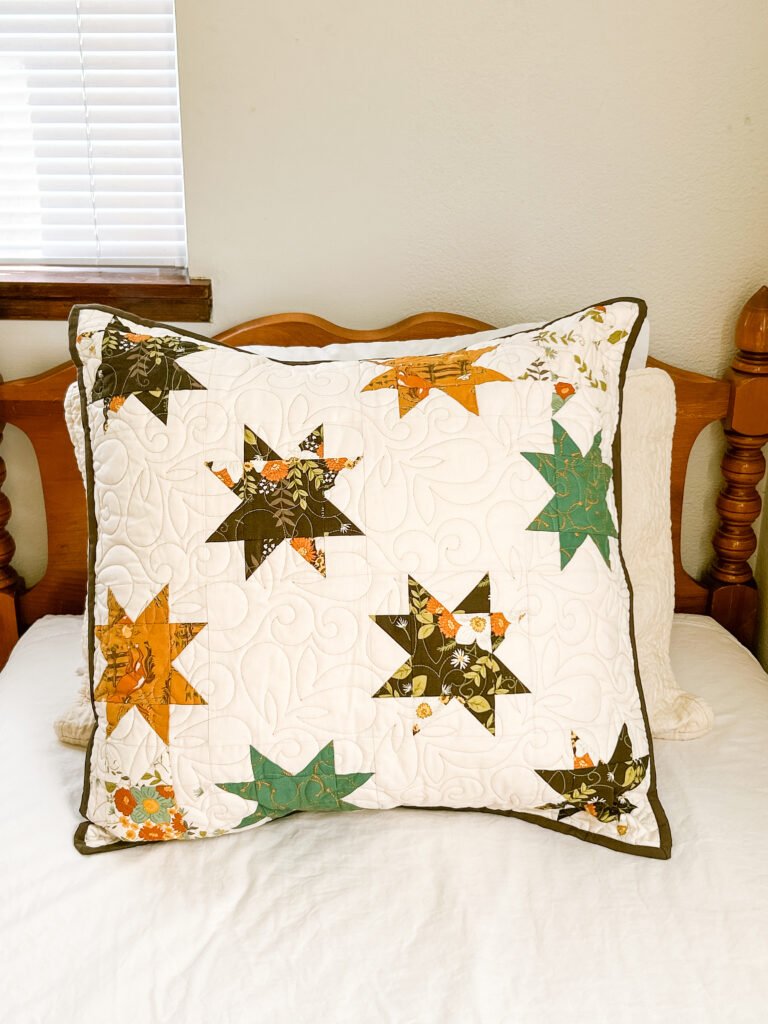
The Completed Pillow:
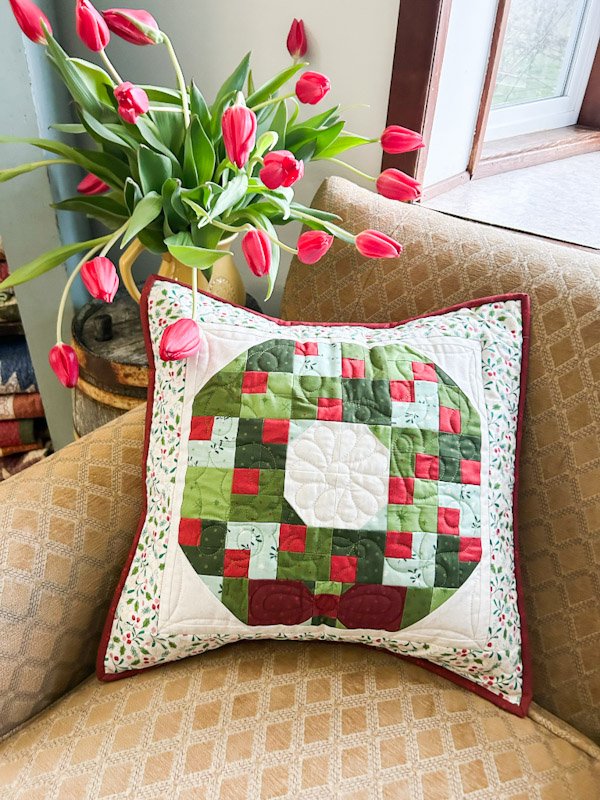
This is Sweet Wreath, a free bonus pattern exclusive to the Make it Merry BOM program releasing in May of 2025!
Let me know if you try this method, here is the video tutorial on our instagram!


One Comment